How to Throw a Summer Outdoor Dinner Party, Part 2: The Tablescape (& Video)
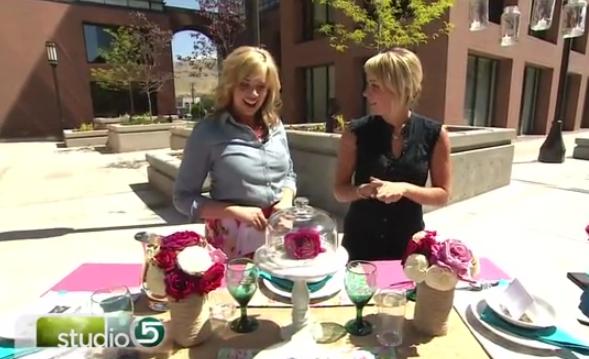 Studio 5 Video SegmentNow that the recipes are prepped, and ready to go, it's time to build your beautiful outdoor dinner tablescape. The first step, and your best bet for super simple (and cheap!) decor, is to check around your home for your favorite serving items, vases, accessories, fabric / fabric remnants etc. Together, with some simple DIY projects (below) you can have a creative shabby chic tablescape in no time.
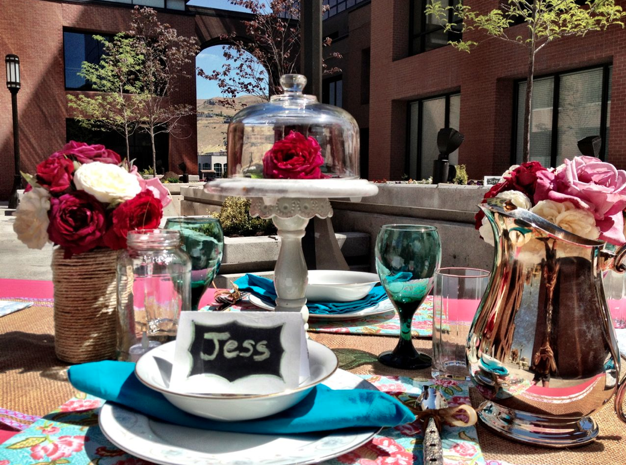 Get inspired by what you find, and pick a color palate. My theme came from the various pretty pink rose bushes in the yard, and from the fresh berries in the cobbler! Bonus: I had these vibrant teal blue linen napkins in my stash, and they were the perfect tie in for a pop of color.
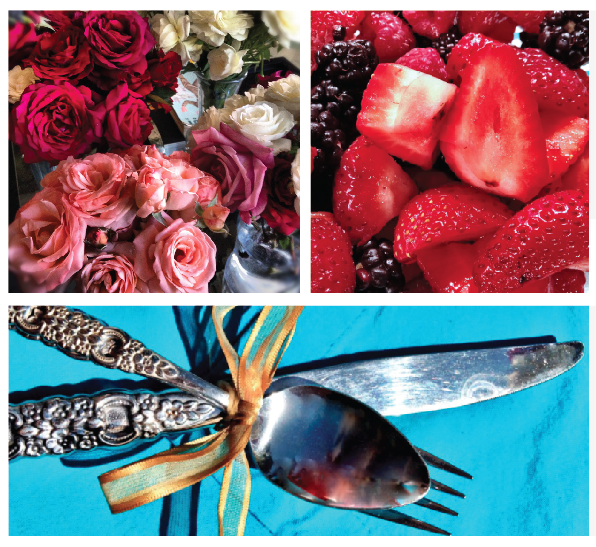 Have a look outside around your neighborhood for some flowers and greenery that you can clip and use to adorn the table. A little bit of something fresh & lovely is key for any table. Once you've got a nice collection of some of your favorite accessory items, its time to put it all together.
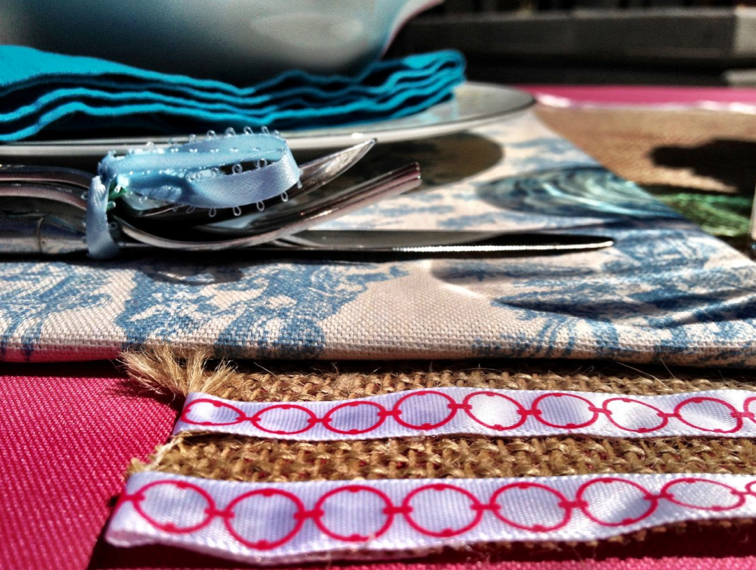 A tip for assembling a beautiful table is to remember that layers create hierarchy. Table cloth (or not..), table runner and placemats create a nice base, and then you build up from there. Don't be afraid to use a little height!Watch the video here!
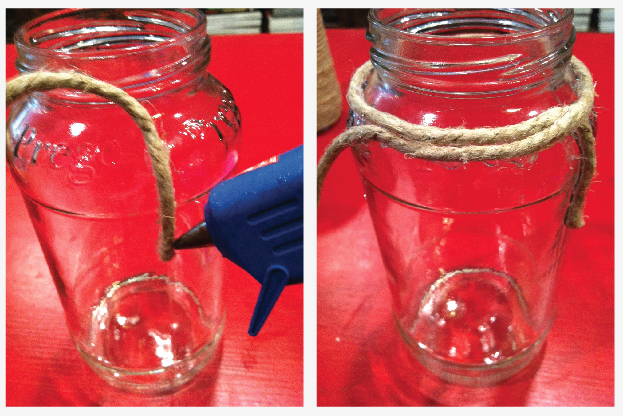
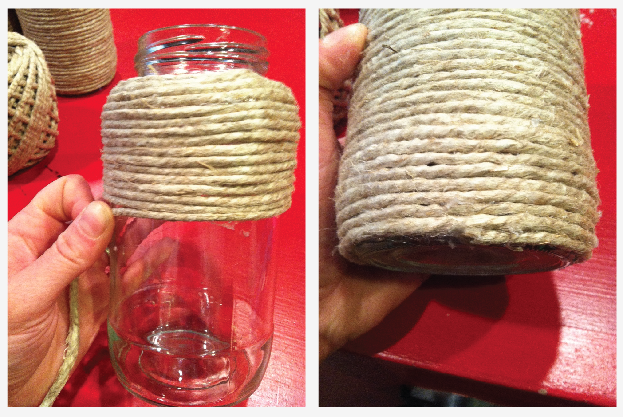
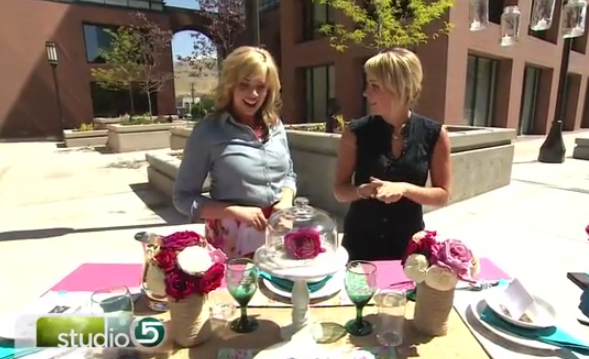 VIDEO!On to the projects....Twine Vases: Save some jars from your favorite spaghetti sauce, olives, jam... you get the idea. Remove the labels and glue, and wash. Using a thick ball of twine, and a glue gun, press the end of twine into a dollop of hot glue somewhere around the center of the jar. Bring the twine up to the jar's neck, and start to tightly wrap the twine around the jar. Add a spot of glue every so often, and work your way down. When you reach the bottom of the jar, finish with about an inch long line of glue. Cut the twine, and seal down any fray with a final touch of the glue.
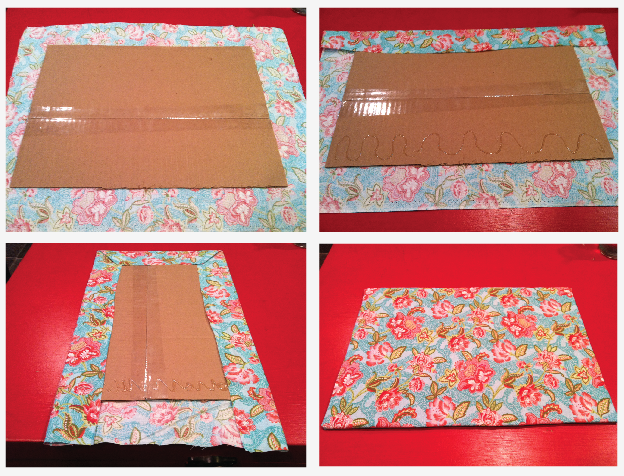
 Fabric Placemats: Cut sheets of cardboard into rectangles approximately 15" x 9". If you can't get exact size pieces, that is OK. Using sturdy packing tape, you can affix 2 pieces together to create the size. Just make sure the tape is tight, and the cardboard pieces are both firm. Next, lay the cardboard onto a piece of fabric about about 2" larger all around (17" x 11"). Wrap the cardboard like a present, and hot glue the fabric down (make sure you make smooth, tight seams so that there are no loose gaps and bumps on the front of your placemat!).
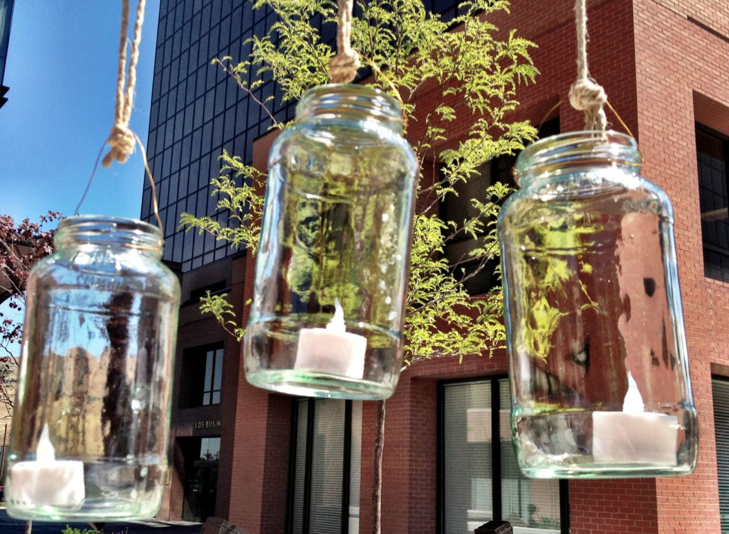
 Jar Lanterns: More jars! Save them up ahead of time... Wrap a piece of wire around the mouth of the jar, twist tightly and fashion a little wire handle. Pop in little LED candles, and hang from any place in the yard. WARNING: do not use real flame candles for hanging lanterns.
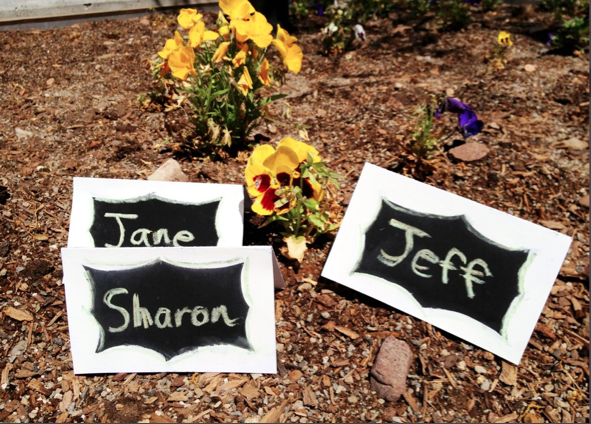
 'Chalkboard' Placecards: For these you will need, cardstock, matte black spray paint, scissors and tape. Cut place cards into whatever size you like. I made these 3"x 5" folded. Next, create a stencil for the outside border. The easiest option is to just cut a rectangle to the size of your place card and cut out an inside rectangle 0.5"- 1" shorter, (ie: 2"x4"). This way, you will have a nice white boarder around the side of the card. Tape the stencil to the front of the card, and spray paint away. Allow to dry, and remove the stencil.